Espresso is the most variable brewing method in the kitchen. The same coffee, the same machine, the same person, can produce a great shot at 9 in the morning and an undrinkable one at 9:15. Once you understand why, the chaos stops feeling random and starts feeling solvable.
What extraction actually is
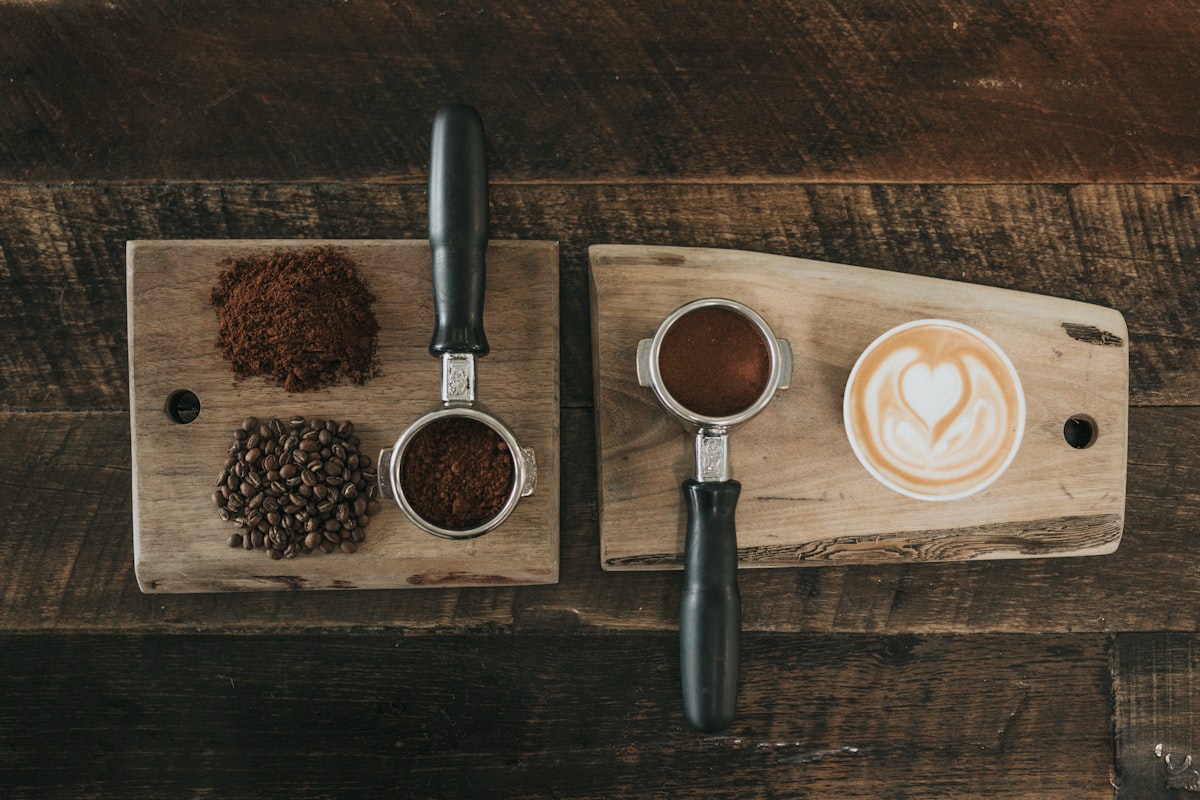
When hot water passes through a bed of ground coffee under pressure, it dissolves the soluble compounds in the grounds. Acids dissolve first. Sugars second. Bitter compounds third. The order matters because it sets the strategy for everything that follows.
An underextracted shot has pulled out the acids but not enough of the sugars and balancing compounds. It tastes sour, thin, and aggressive. An overextracted shot has gone too far past the sugars into the bitter territory. It tastes harsh, dry, and ashy. A well-extracted shot lands in the middle: sweet, balanced, with the acidity present but not dominant.
The four variables you control
Espresso has more variables than other brewing methods, but only four really matter at the home barista level:
Dose
How much coffee you put in the basket. Modern espresso baskets typically take 18-22 grams. Most beginner machines work best at 18 grams. Once you pick a dose, keep it consistent for at least a week of brewing before you change it. Changing dose is the slowest way to learn.
Yield
How much liquid espresso comes out of the basket. Standard ratios:
- Ristretto: 1:1.5 (18g in, 27g out). More intense, thicker.
- Normale: 1:2 (18g in, 36g out). The default.
- Lungo: 1:3 (18g in, 54g out). Lighter, more drawn out, often used for longer drinks.
Start at 1:2. It’s the safest starting point and most modern light-medium roasted coffees work well there.
Time
How long the shot takes from the moment you start the pump to the moment you stop it. The classic answer is 25-30 seconds. The truth is more nuanced: time is a result, not a goal. You’re aiming for a specific yield in a specific time, and adjusting your grind to get there. If your 18-to-36 shot takes 35 seconds, your grind is too fine. If it takes 18 seconds, your grind is too coarse.
Grind
This is your main lever. Almost every dial-in starts with grind. Modern espresso grinders adjust in tiny increments because espresso is genuinely sensitive to grind size. A change of two notches can take you from sour to bitter on the same coffee.
The dial-in process, step by step
This is the workflow that gets you a drinkable shot in 3-5 attempts:
- Set your dose. 18g in your basket. Tare your scale, fill the portafilter, level it.
- Pull a shot. Place a cup on the scale under the spouts, tare, start the pump. Stop when the scale reads 36g.
- Note the time. If it took 25-32 seconds, you’re in the zone. Taste it.
- If too fast (under 22 seconds): grind finer by one click. Try again.
- If too slow (over 35 seconds): grind coarser by one click. Try again.
- If time is good but it tastes bad: the grind is in the right range, the problem is somewhere else. See the troubleshooting section below.
Most home setups need 2-4 shots to find the right grind for a new bag. Don’t skip waste shots. They’re tuition.
Troubleshooting by taste
- Sour, sharp, lemon-juice unpleasant: Underextracted. Grind finer, increase the yield slightly, or both.
- Bitter, dry tongue, ashy aftertaste: Overextracted. Grind coarser, decrease the yield slightly, or both.
- Watery, no body: Underdose, or the basket isn’t right for your machine. Check that the puck is filling the basket properly.
- Channeling (water finding fast paths through the puck): Improve your prep. Distribute the grounds with a WDT tool or a needle, then tamp evenly with consistent pressure.
- Inconsistent shot to shot: Your tamp pressure is varying, or your grinder is producing inconsistent particle size. The latter is a hardware problem; the former is a technique problem.
The puck prep that punches above its weight
The single biggest jump in espresso quality for most beginners comes from puck prep. The basics:
- WDT (Weiss Distribution Technique). A small tool with thin needles that you stir through the dose to break up clumps. Costs $15-30. Worth every dollar.
- Distribution tool. A spinning disk that levels the bed before tamping. Optional but helpful for consistent results.
- Tamp. Apply enough pressure to compact the puck (around 15-20 lbs of force, which is less than people think). The exact pressure matters less than the consistency from shot to shot.
- Level. Your tamp should be flat, not tilted. A tilted tamp is the most common cause of channeling.
What about pressure profiling and pre-infusion?
If your machine offers them, use them, but don’t worry about them in your first month. They’re refinements on top of a stable baseline. Get your basic dial-in solid first, then experiment.
The mental shift that makes espresso click
Espresso isn’t a recipe to follow once. It’s a relationship between you, a specific bag of coffee, and your specific equipment. A great shot is the result of dialing those three things in. When the bag changes, the dial-in resets. When the weather changes, the dial-in shifts. When your machine warms up differently because the kitchen is colder, the shot moves.
Once you accept that espresso is dynamic, the frustration drops dramatically. You stop expecting yesterday’s recipe to work today and start treating every morning as a small adjustment. Within a few weeks, the adjustment becomes automatic and you stop noticing you’re doing it. That’s when you’ve actually learned to pull espresso.